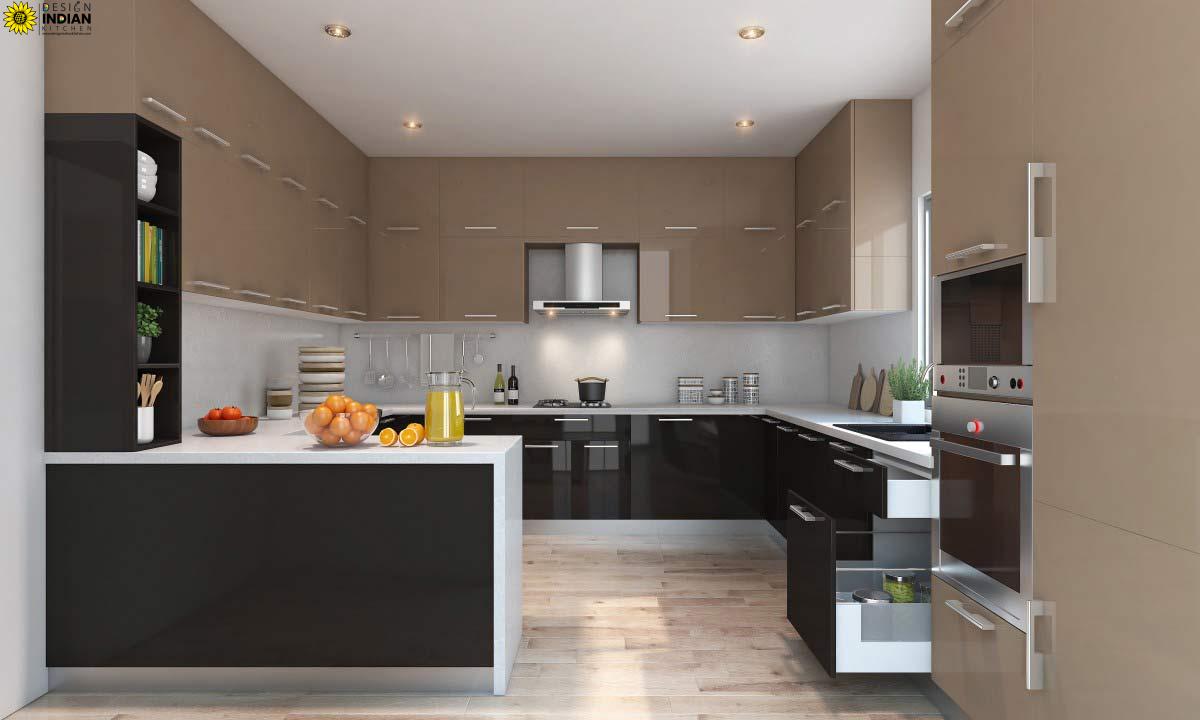
learn how to measure your modular kitchen
HOW TO MEASURE YOUR MODULAR KITCHEN
The planning phase of our kitchen remodel is the time to consider our wishes, wants, and needs and get them written or drawn out. If we want our kitchen remodel to be a success, then be meticulous in measurements. Being off by even as little as an inch can cause real problems and frustration. imprecise dimensions are the best way to make sure cabinets doesn’t fit! We start the planning process by figuring out how big the kitchen is.
Using graph paper with corresponding squares equalling one foot of real space will aid in making the sketch accurate and to scale.
Step by step flowchart to measure:
- Walls: Start off by facing the wall that has the sink on it and label the wall as follows:
Wall #1 is the wall to your left,
wall #2 is the wall with the sink,
wall #3 is the wall to your right and
wall #4 is the wall that’s behind you.
If your kitchen only has three walls , adjust the wall labelling to fit your kitchen layout.
Start on by measuring alongside the floor to get the exact length of each wall. subsequently measure the same direction about midway up the wall. Now measure the same direction a third time at the ceiling. Walls are rarely square and can often be off by as much as an inch or two. You need to know the exact size of each wall, so compute each one at these three points. Order your cabinets using the widest of the three measurements. If you don’t, you’ll have a gap between the wall and the end cabinet
If your kitchen has a soffit , measure distance from the floor to the bottom of the soffit. Also measure the soffit’s depth and height.
ALWAYS KEEP TOLERANCE OF 25mm LESSER IN THE ACTUAL MEASUREMENT
- Doorways: Measure both the location of the doorway on the wall and the size of the doorway, including the Starting in the left-hand corner for each measurement ensures accuracy; it’s too easy to make a mistake on the location of the door in the wall.
Start in the left-hand corner of any wall that has a doorway in it. Start at a spot halfway up the wall in the left-hand corner and measure from there to the edge of the door trim. Next, measure the width of the door including the trim on both sides. If the wall happens to have more than one door, measure each door location separately starting at the left-hand corner. Don’t measure from the edge of one door’s trim to the edge of the next door. Don’t forget to measure the height of the door (including trim), too. Note the location and dimensions on your paper.
- Windows: Start in the left-hand corner of the wall with a window and measure the distance from the wall corner to the edge of the window trim. Measure the window’s width and height including all sides of trim. Finally, measure the distance from the floor to lower edge of the bottom piece of trim. Use these measurements to draw the correct size window and transfer these measurements onto your paper.
- Pipes, vents, outlets, and switches:Accurately note the location of all receptacles, electrical switches, drainpipes, and venting ductwork. Once again, start in the left-hand corner of the wall with each specific item in it. This time, however, measure to the centre of the items including the outlets, drainpipes, or ductwork. Again, transfer these dimensions and positions onto your drawing.
Now that you have all of the dimensions you need, you can actually draw your new kitchen layout. Start by playing around with different locations for the appliances, but always keep in mind where the power sources are located, unless you’re planning on moving them to accommodate an appliance’s new spot. Don’t be afraid to change the location of a specific size cabinet within a specific run, either.